Easily create 360 tours & HTML pages with immersive elements, and more
Big news! The code for the 360 Hotspot Creator I released in June just went through some major upgrades. It’s now a lot more than just a 360 tour builder. I have upgraded it to incorporate the best features of WebXRIDE, which is an integrated development environment (an IDE) for Web-based extended reality (XR).
WebXRIDE was the first vibe-coded publishing tool that I started working on in the summer of 2025 after the unexpected shutdown of Glitch, months before the 360 Hotspot Creator. Various versions of WebXRIDE have been used by students in several of my classes, especially those that involve some basic HTML instruction. In fact, many of the students used both WebXRIDE and the 360 tool, so if you are one of my former students you may see yourself and your ideas and feedback reflected in this newly integrated publishing tool.
Since the 360 Hotspot Creator has been pulled into WebXRIDE, I have decided to change the name of the entire publishing suite to, simply, WebXRIDE. It is a single publishing solution for creating immersive web content that supports the most basic assets needed for immersive storytelling on the web, including 360 content, 3D models, and even full “six degrees of freedom” A-Frame environments that I call Immersive Museums. (XR Nerd note: Will it also support Gaussian Splats? I am still trying to decide, as I am an advisor for Newhouse alum-run StorySplat, which handles Gaussian Splat storytelling better than anything else out there. Perhaps I will look into integrating with StorySplat, but I will put that decision off for a while.)
How Can You Try WebXRIDE?
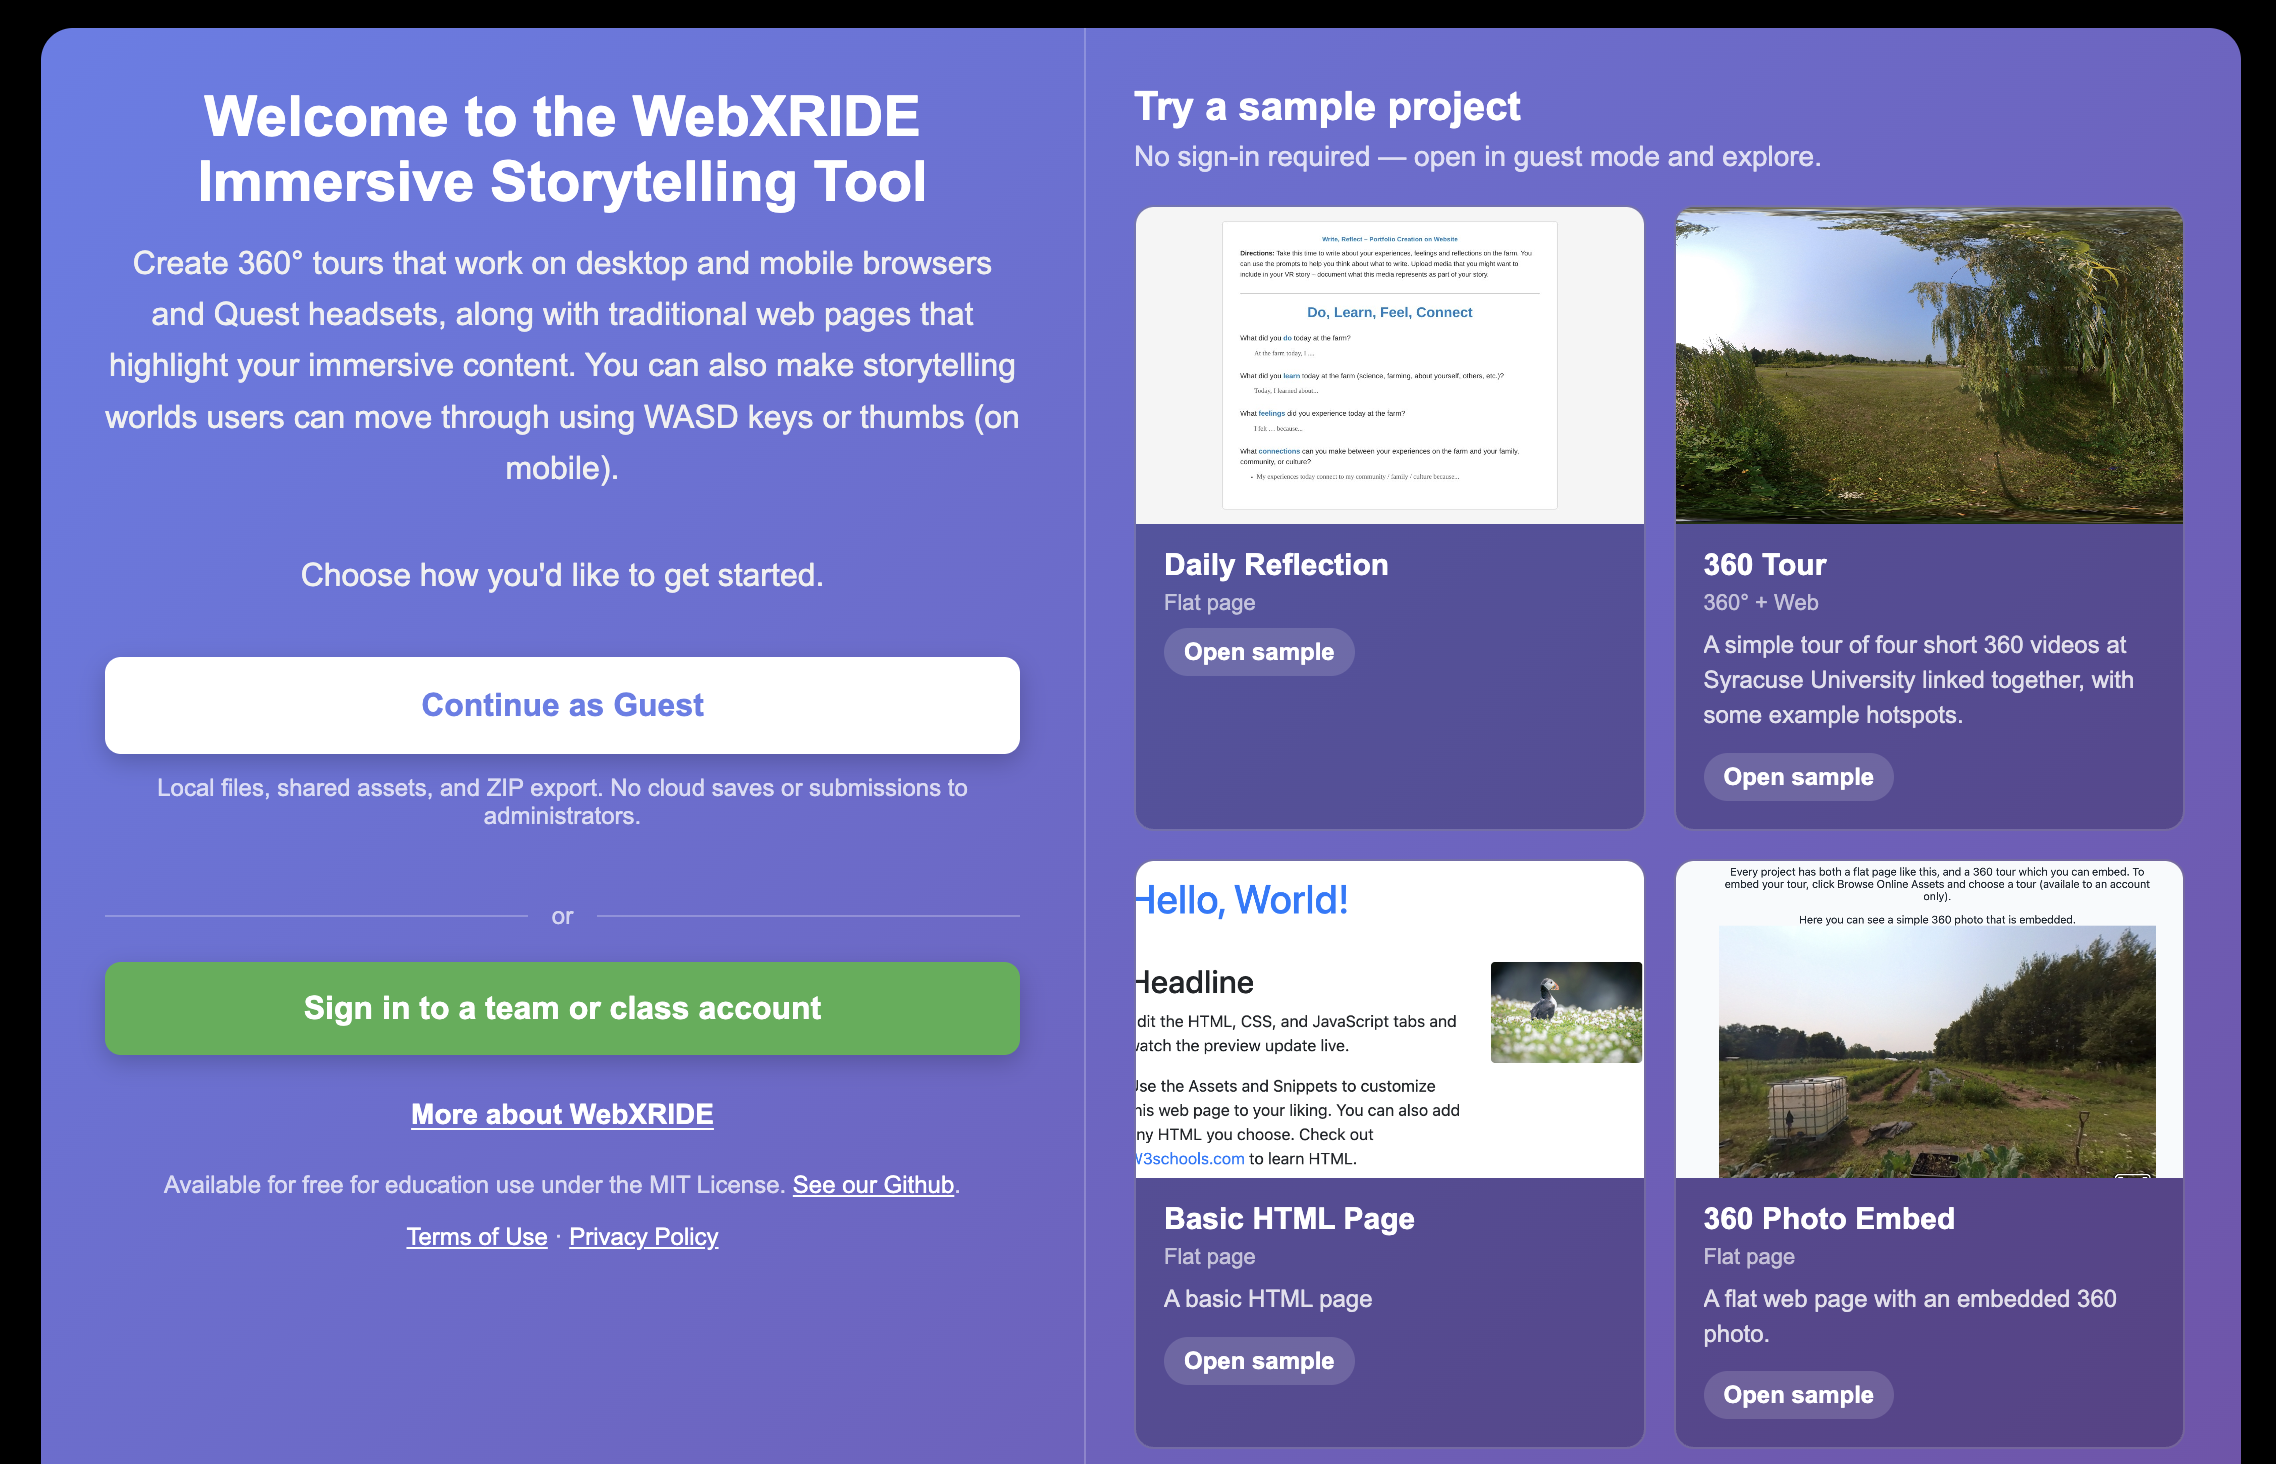
After releasing the 360 Hotspot Creator code, I started hearing from people that they wanted to try it out — but they didn’t know what to do with a Github repository. Message received! For that reason, I have decided to release a version of the upgraded WebXRIDE publicly in a way that allows anyone to try it out locally in guest mode. You can try out some of the features and templates on a desktop, laptop or iPad browser at https://webxride.com.
As a reminder, the code for this is all still open source, available through the currently-labeled vr-hotspots-educational Github repository. If you have the skills to take advantage of that, you are free to try installing it yourself. But most storytellers either don’t have those skills or aren’t interested in the hassle. So for you, there’s guest mode.
Might I eventually set up a full instances of WebXRIDE that lets anyone register, sign in and use cloud storage? I am thinking about it, but that is a business decision and I’m not really that interested in creating another publishing-tool business. I have done that in the past. Anyone remember BookBrewer, Printcasting or Participata, including the “Bakotopia” site it powered? And even earlier, how about ALL of the so-called “member publishing” tools at AOL I worked on, such as AOL Hometown and AOL Groups? No? Never heard of them? That’s because they are all long shut down.
User-contributed-content businesses are really hard to run, and even harder to make money off. Most companies that have made money off them have been subject to what Corey Doctorow aptly labels Enshittification. Thus, WebXRIDE is just an open source publishing solution for now. But never say never.
What Can You Do in WebXRIDE 2.8?
The biggest and most obvious feature in WebXRIDE 2.8 is that anyone can now play around with it in Guest Mode. When you use Guest Mode, you don’t have to log in. Everything you do is saved in your local web browser’s memory, and nothing is uploaded to the cloud.
This is important, because it means that even someone like a teacher who installs an instance of WebXRIDE to help them teach basic Web development skills to a class doesn’t need to incur the liability and potential administrative headaches of hosting student content. Everything stays on the student’s computer in their web browser’s memory.
But selfishly, guest mode also allows me to let you play around with WebXRIDE in a low-risk way. If you want to try it out, just do the following:
- Visit webxride.com from any desktop, laptop or iPad browser (iPhone is currently not supported). I test everything first on the Chrome browser, so I recommend using Chrome.
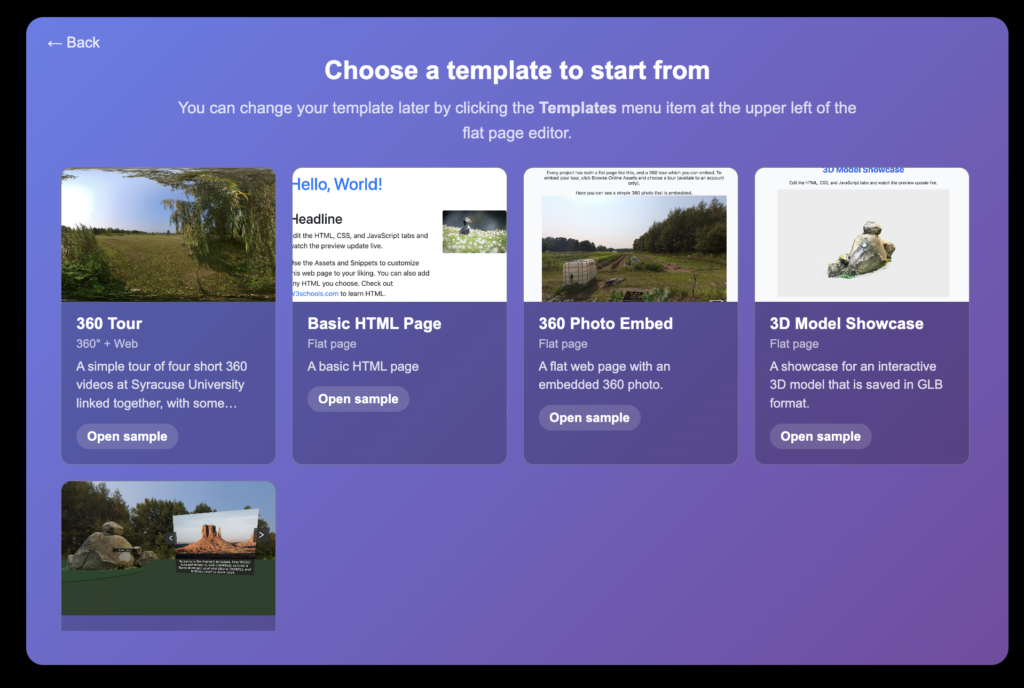
- Continue as Guest, or click Open sample on a template, and you will be in the full editor. No password required.
- When you do this, you will be notified of the terms of use and that all usage is at your own risk. That sounds scary, but don’t be scared. There’s very little risk in the tool itself. Once you get something you want to use, you can publish it anywhere you like that supports HTML, CSS and JavaScript.
Getting Around the Guest Mode
Guest Mode gives you the same core tools signed-in students use for exploration and export, including:
- 360° VR tours — scenes, hotspots, audio, images, 3D models, navigation.
- Flat Web Page mode — HTML, CSS, JavaScript with live preview
- Local files on your device.
- Shared Online Assets that are curated by the owner of the server (in the case of webxride.com, that’s me!)
- Templates that are created for your use by the owner of the server (also me on webxride.com).
- ZIP export gives you a standalone site you can host anywhere. Unzip it and then move the HTML and files wherever you want. You can even just FTP the whole folder to a web site and it should work.
By design, Guest Mode does not cloud-save projects, or allow you to submit your work to an admin, or allow you to upload your own files. Work lives in your browser session.
I am working on a tutorial video and tutorial mode, but here’s the most concise description I can give about what you do next.
First, it’s important to know that every template has both a “flat web page” and a 360 tour. If you start out with the 360 Tour template in guest mode, look at the upper right and you will see these two options:
- Spherical Content
- Flat Web Page
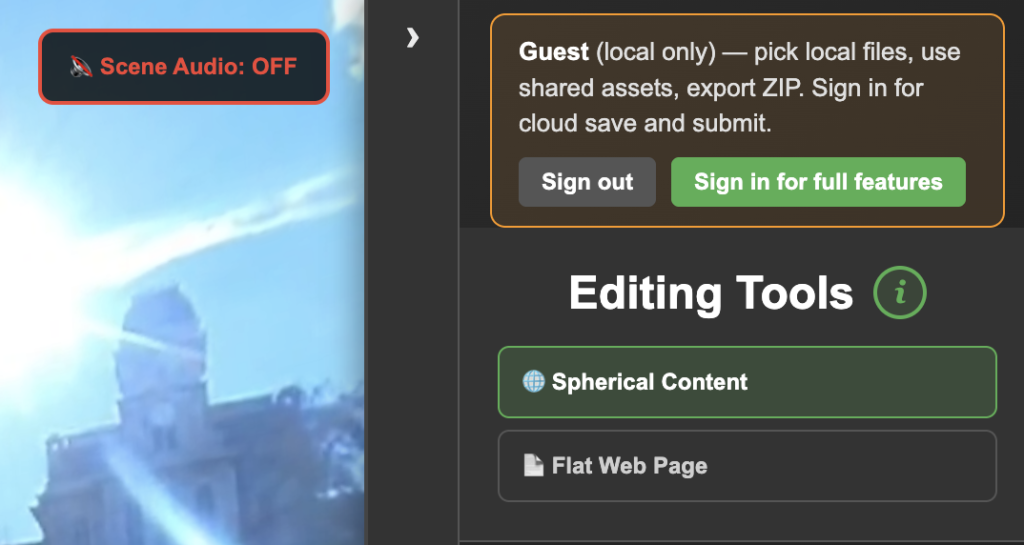
You can completely ignore the flat web page in the 360 Tour if you like. Just click on hotspots, move around the 360 and click to place and configure them. To move them, you click an icon that looks like a map placemarker. To edit them, you click on the pencil. You can also find these on the right for each scene to choose a hotspot.
Add additional scenes and choose one of the 360 images in provided online assets, then add hotspots to them. To link two hotspots together, you add a Navigation Hotspot and choose which scene it goes to.
After setting up a tour that you like, try clicking that Flat Web Page button. It will save a version of your tour, and then embed it into a flat web page along with a QR code. You can scan the QR code to view the 360 tour. (Note: this feature has been a little buggy so if it doesn’t work, now that you’re not the only one seeing that! I am probably already working on an update to fix it).
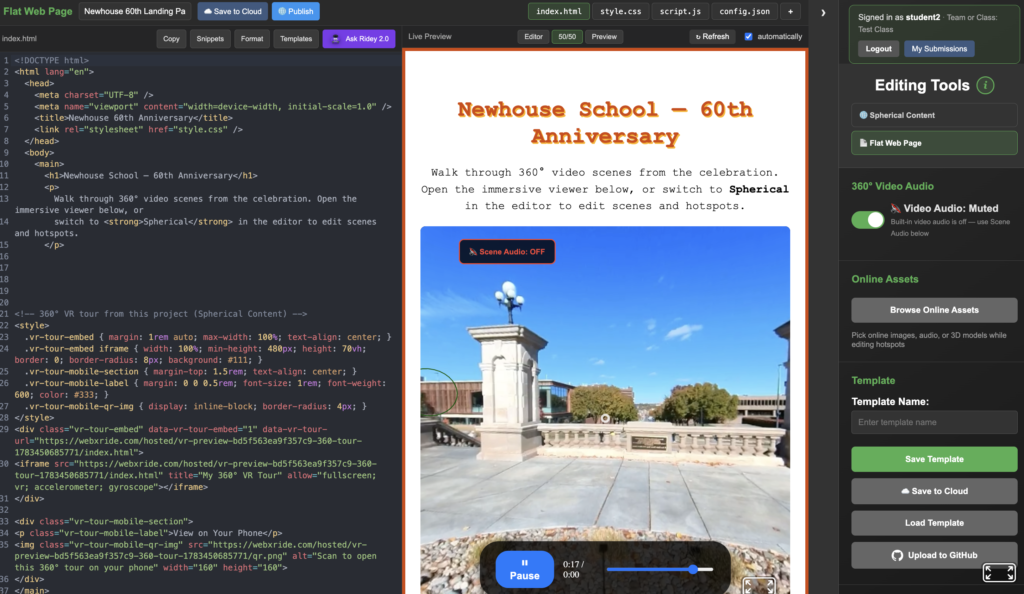
While in the Flat Web page editor, you will notice that there is a button at upper right labeled Templates. Don’t click it yet because it will wipe out your 360 tour (you should get a warning about that). You should export your tour by going back to the Spherical Content section, and then click Save Template. It will download a zip. You can then unzip and upload that folder to any web host, and your tour will be live.
After saving your 360 Tour, just click Sign Out. Then, try one of the other templates. (You can also click back to the Flat Web Page mode and then click Templates as a shortcut).
I will be making some video tutorials about all this, but in the meantime I look forward to hearing what people think about this. Your feedback is welcome. If you try out WebXRIDE 2.8 and have ideas and especially if you find a bug, let me know about it through the Contact Form on my blog.
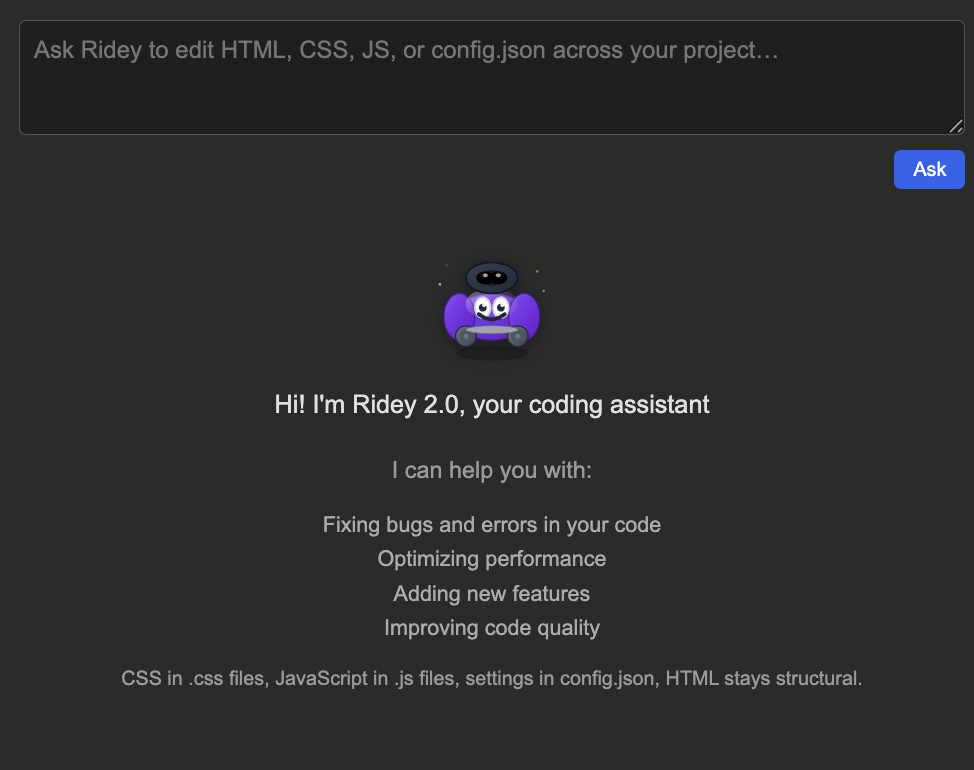
My next post will be about all of the other features that are available for signed-in users including online storage, a fun AI coding assistant called “Ridey,” a admin/teacher-student editing flow, and a robust admin area.